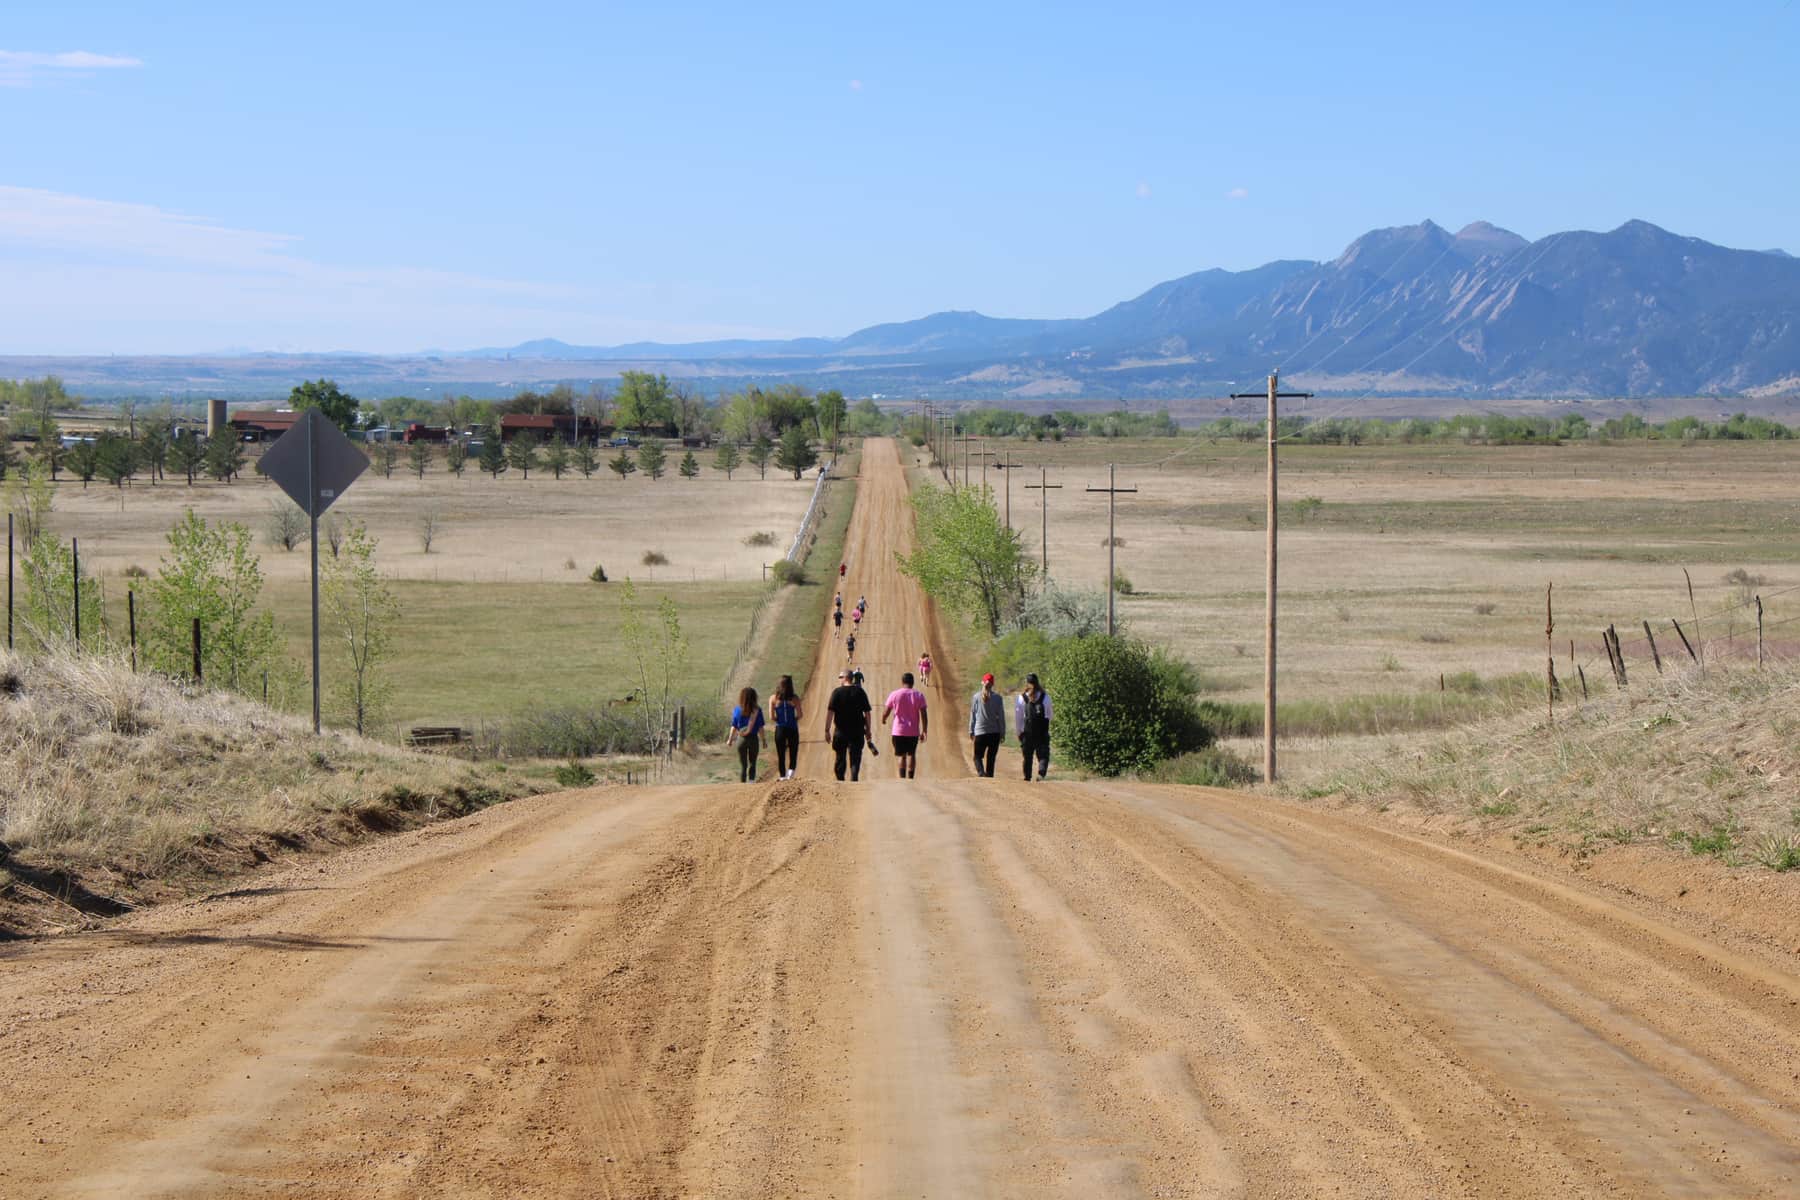
Hiking looks like walking, so most people train for it by hiking more. That works up to a point. Then a long descent leaves your knees complaining, a loaded pack leaves your back tired, or an uneven stretch of trail reminds your ankles they haven't been challenged in a while.
Strength training for hikers isn't about lifting heavy for its own sake. It's about building the specific strength and control the trail asks for, so Colorado hiking feels easier and you recover faster. Here's what that looks like, and how to fit it into a normal week.
Why Boulder trails ask more of you
If you hike in Boulder, you already know the trails don't ease you in. Routes around the Flatirons, Bear Peak and Mount Sanitas have steep, rocky sections and uneven footing, and the way down can be harder on your legs than the way up.
Altitude adds another layer. Any effort feels harder at elevation, and Colorado hikes often climb for a long time. Strength training can't replace the time your body needs to adjust to altitude, but stronger legs can help you spend less of your energy just moving yourself up the hill.
If you're planning a Colorado 14er, the same applies on a bigger scale: a long day of climbing, then a long descent on tired legs. Building strength beforehand can help you manage that descent with more control. Local sources are the best place for advice on routes, weather and start times, because the gym only covers part of the preparation.
What hiking actually asks of your body
Walking on flat ground is easy on the legs. A trail isn't flat, and four things make it harder:
- Climbing. Your legs and glutes work against gravity for long stretches, one step at a time.
- Descending. Your quads and hips have to control your body weight as it lowers. That lengthening-under-load work is a common reason steep descents leave people sore the next day.
- Uneven ground. Your ankles, hips and core make constant small corrections to keep you upright.
- Carrying weight. Even a light pack adds load to your back, shoulders and core.
Notice how much of this happens on one leg at a time. That shapes what's worth training.
Four movement patterns worth training
1. Step-ups and squats (the climb)
Step-ups onto a box or bench train the motion of climbing. Squats build the general leg strength underneath it. Start with a height and weight you can control, and drive through the whole foot. Add calf raises here too, since your calves work on every uphill step.
2. Single-leg work (the uneven ground)
Split squats, reverse lunges and single-leg balance work are the closest thing the gym has to a rocky trail. They build strength and stability in the hips, knees and ankles together. Go slowly and use a wall or rail for support if you need one.
3. Hip hinges (the pack and the back)
Romanian deadlifts and similar hinge patterns train your glutes, hamstrings and lower back to work together. That can help you stay upright and strong when carrying a pack uphill, and support your posture when you're tired at the end of the day. If you're new to deadlift-style movements, our guide to deadlifting safely covers the setup.
4. Core and carries (the whole package)
Farmer's carries, side planks and other core work teach your trunk to stay stable while your legs do the work. Walking with a heavy weight in each hand is also a good match for hiking with a pack.
A note on lowering. Because descents are where many people feel it, try slowing the lowering phase of step-ups, step-downs and squats to about three seconds. This can help build the control the downhill asks for. The same idea shows up in our ski-season training guide, since skiing loads the legs in a similar way.
A simple weekly structure
Two strength sessions a week is a reasonable starting point for most people, on top of the hiking you already do. Each session can include one exercise from each of the four patterns.
Example session
- Step-ups: 3 sets of 8 per leg
- Split squats: 3 sets of 8 per leg
- Romanian deadlifts: 3 sets of 8 to 10
- Farmer's carry: 3 walks of about 30 seconds, plus a side plank for 20 to 30 seconds per side
If you're a beginner
- Start with 2 sets instead of 3, and use bodyweight or very light weights
- Use a low step and hold a wall or rail
- Stop each set with a couple of reps still in reserve, and add weight only when every rep feels controlled
A few guidelines
- Leave a day between strength sessions.
- Avoid your hardest leg session the day before a big hike.
- Treat this as a starting framework, not a program built for your body. Your history, goals and schedule change what's right for you.
When it's a PT question, not a training question
Strength work can't fix everything. If knee pain shows up on descents and doesn't settle, an ankle keeps rolling, pain wakes you at night, or a niggle hangs around for weeks, get it assessed rather than training around it. A physical therapist can work out whether it's a strength, movement or mobility problem, or something else.
ONE Boulder Fitness has a resident physical therapist through Atomic Physical Therapy. You can read more about physical therapy for running injuries.
This article is general information, not medical advice. If you have ongoing pain, get it assessed before you increase your training.
Getting started
If you're new to lifting, the hardest parts are knowing what weight to use and whether your form is right. If you'd like a coach to set that up, our 1-on-1 strength training is built around exactly that.
The easiest way to see the gym is to try it. If you live or work in the Boulder area, you can book a free day pass and try the strength floor.
Written by the ONE Boulder Fitness team. Educational only — not medical advice.
Ready to train for the trail?
Try the strength floor on a free day pass, or ask about 1-on-1 strength training.